The Argosy Solar Project

The Argosy Solar Project |
|
|
|
|
|
Dave & Ann WBCCI: 5074
|
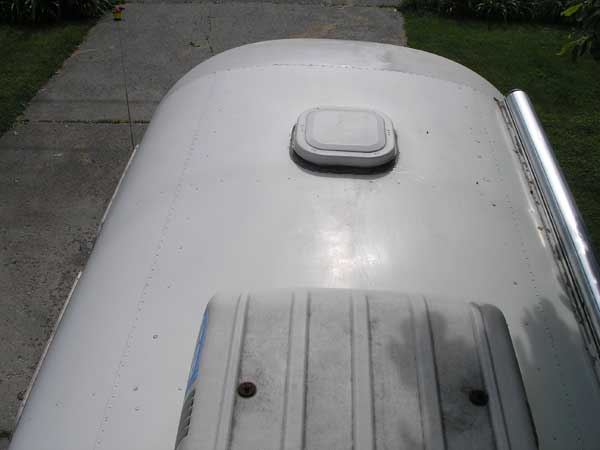
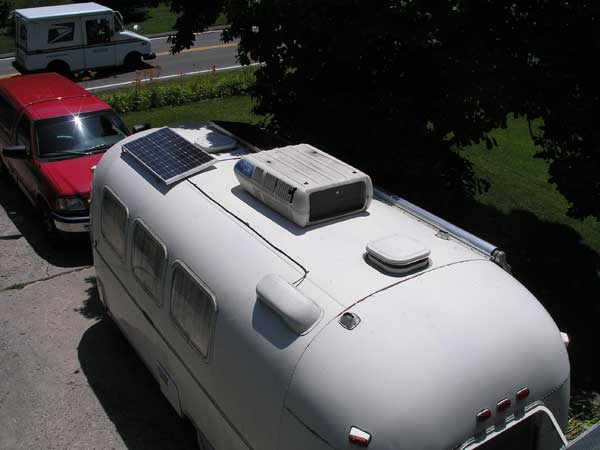
As I mentioned earlier, the hardware was to be installed on the roof of
a 1978 Argosy travel trailer (made by Airstream). These trailers have
curved roofs, making installation of anything on top "interesting",
Installation on a typical flat RV roof is much easier. I chose to put the panels on the front of the trailer, parallel to the street. This way they are less likely to get shadows from the air conditioner shroud.
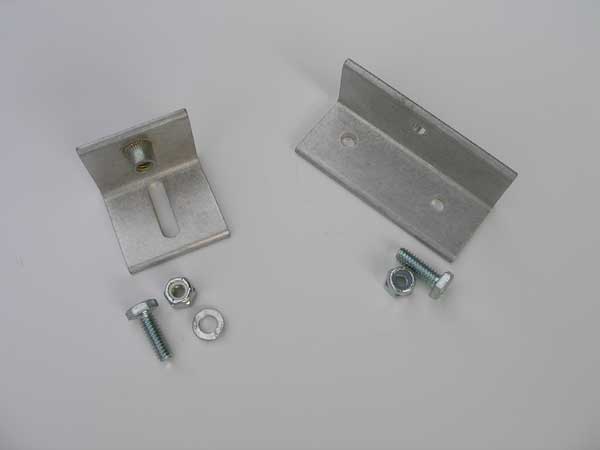
Each panel has four two-piece brackets. One of the pieces attaches to the RV's roof. The other piece attaches to the panel. A bolt holds the two brackets together:
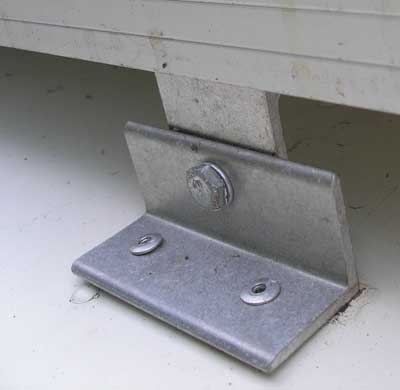
I attached the roof brackets to the roof using aluminum pop rivets (the kit came with screws). The holes are sealed with a waterproof putty that came with the kit. I made sure that at least one rivet in each bracket went through a rib. That provides much better support than attaching to the skin only. In order to do this I had to drill two new mounting holes in each of the Solar Panel frames. This wasn't a big deal to do. If you are mounting the panels on a "typical" RV flat roof, you can use wood screws, and put them almost anywhere you like, as the roof is typically made of plywood. Here is a close-up of one of the brackets in place. the left side looks loose, but it isn't. This is due to the fact that it is sitting on top of existing rivets. That is where the rib is and I made sure I had enough putty to seal the rivet hole adequately (You get enough leaks in these old trailers without making new ones!).
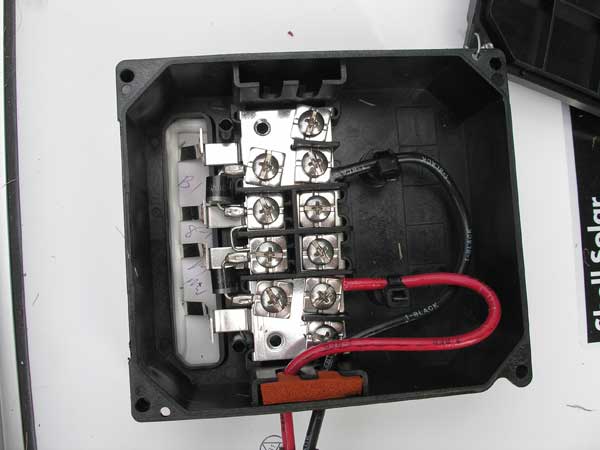
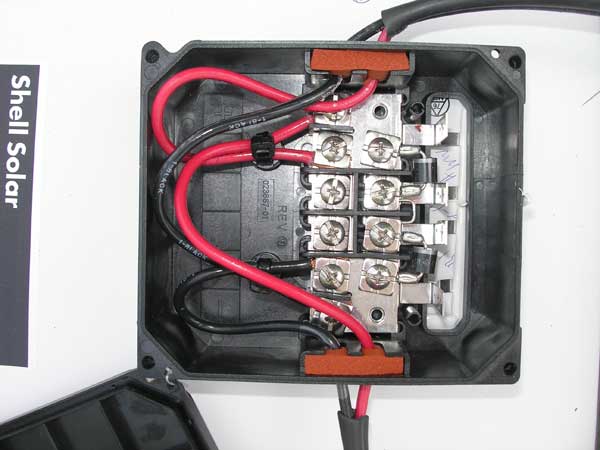
Prior to attaching the panels to the roof, I had to wire them. They are wired in parallel (All positive terminals are wired together, and all negative terminals are wired together), so that the voltage for two panels is the same as for one, but the current of the two is added together. All wiring connections were coated with di-electric grease (available at auto parts stores) to prevent corrosion.
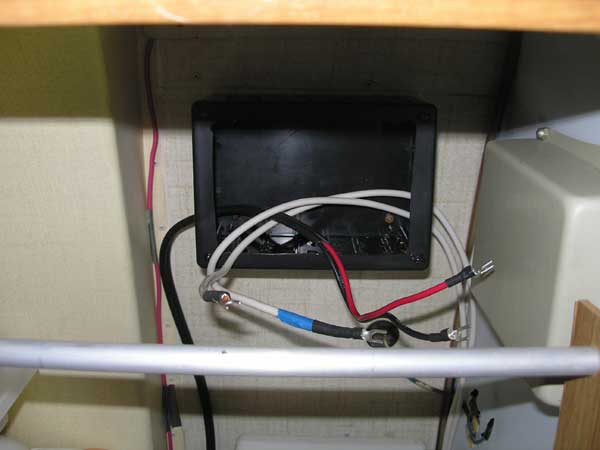
Then the wire is run to the refrigerator vent (saves putting more holes in the roof, avoiding leaks). It is held in place by several plastic wire clamps along the way. You don't want the wire flapping around in the wind. From there it is connected to the charge controller inside the trailer.
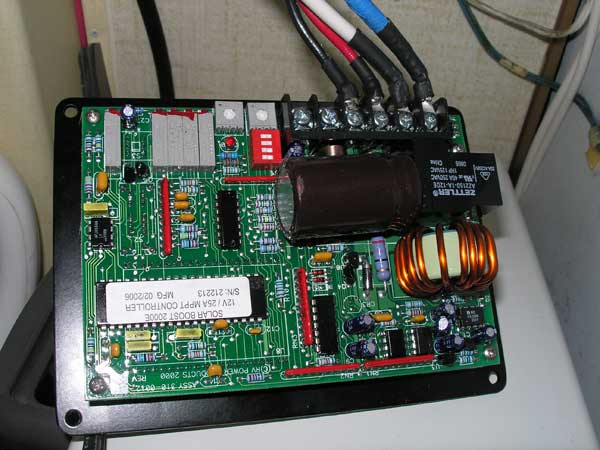
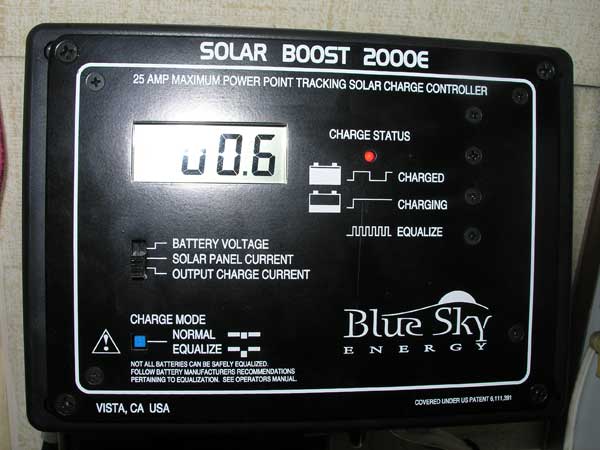
I put the charge controller inside the cabinet that is above the refrigerator. This is handy for wiring and doesn't clutter up the look of the trailer.
I then ran 8 gauge wire to the battery. The kit came with 10 gauge, but it was a long run (almost 20') from the charge controller to the batteries and I didn't want to loose any current. The wires go directly to the battery output. I installed a 50 amp fuse in the positive lead by the battery for safety and as an easy way to disconnect the panels from the batteries. This worked great, but it turned out we needed an Upgrade
This site was last updated 08/20/07 |